
Wood vs. Vinyl vs. Aluminum vs. Concrete Fence: Which Fence is Best for Your Property?
March 24, 2025
The Role of Fencing in Preventing Wildlife Encroachment
May 28, 2025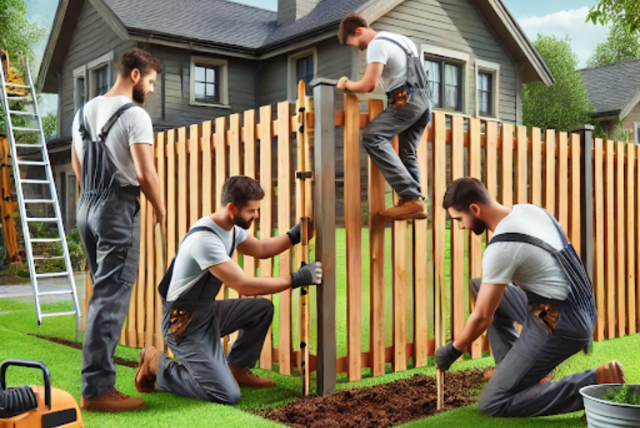
The Ultimate Guide to Fence Installation – What to Expect from Start to Finish
Introduction
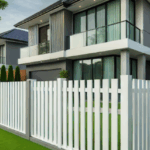
A well-installed fence enhances privacy, security, and curb appeal while defining property boundaries. Whether you’re adding a decorative touch or increasing security, understanding the fence installation process ensures a smooth experience. This guide covers everything from choosing materials to the final touches, so you know exactly what to expect.
Transform your property with top-quality fence service from 421 Fencing! Whether you need wood, vinyl, aluminum, or custom fencing, our expert team ensures durable, stylish, and secure installations.
Step 1: Planning Your Fence Installation
Determine Your Needs
Before selecting a fence, consider its primary purpose:
- Privacy – Tall wood or vinyl fences provide seclusion.
- Security – Metal and composite fences enhance protection.
- Aesthetics – Ornamental iron or decorative wood designs boost curb appeal.
- Pet & Child Safety – Chain-link or solid panels create secure enclosures.
Check Local Zoning Laws & Permits
Many cities require permits before fence installation. Research your local regulations regarding fence height, material, and property line restrictions to avoid fines or rework.
Set a Budget
When planning for a fence, the total expense will depend on several key components:
- Material Costs: The type of material you choose will significantly impact the overall price. For instance, wood, vinyl, chain-link, and aluminum each have their own price range per linear foot.
- Labor Costs: The cost of hiring professionals to install the fence is another important factor. This can vary based on the complexity of the project, the length of the fence, and local labor rates.
- Maintenance Costs: Different fence materials require varying levels of upkeep. Some materials might need regular painting or staining, while others might be more resistant to wear and tear, influencing long-term expenses.
Step 2: Choosing the Right Fence Material
Each material offers different benefits:
- Wood: Natural look, customizable, requires staining/painting.
- Vinyl: Low maintenance, durable, higher upfront cost.
- Chain-link: Affordable, functional, less privacy.
- Aluminum: Stylish, rust-resistant, great for decorative fencing.
Choosing the right material depends on your needs, climate, and long-term maintenance preference.
Step 3: Preparing for Installation
Marking Property Lines
Clearly define property boundaries to avoid disputes. Hiring a land surveyor ensures accuracy.
Clearing the Area
Remove obstacles such as rocks, roots, or old fencing. Level the ground if necessary.
Calling Utility Companies
Before digging post holes, contact local utility providers to mark underground cables and pipes.
Step 4: The Installation Process

1. Digging Post Holes
Posts should be set 2-3 feet deep for stability. Concrete is poured to secure them in place.
2. Installing Posts
Allow the concrete to cure for 24-48 hours before attaching rails and panels.
3. Attaching Rails & Panels
Secure horizontal rails to posts, then attach fence panels or individual boards.
4. Adding Gates & Finishing Touches
Ensure gates are aligned properly with sturdy hinges and latches. Seal, stain, or paint wooden fences for longevity.
Step 5: Post-Installation Maintenance Tips

Regular maintenance extends the life of your fence and keeps it looking great.
Conclusion
A fence installation project requires careful planning, material selection, and professional execution. Whether for privacy, security, or aesthetics, choosing the right fence ensures long-term satisfaction. Ready to install your fence? Contact a professional for a consultation and transform your outdoor space today!
With years of experience and a commitment to excellence, 421 Fencing is your trusted partner for all fencing solutions. Contact us today for a free consultation and let us bring your vision to life!


